


About a month ago I made an outfit for one of Carleigh's friends 5th birthday. As soon as Carleigh saw it she wanted on as well. "we can match at school mommy" If only my 7 year old was as enthusiastic about matching her sister.... So with Make it Wear it Thursday coming up over The Train to Crazy Blog by Andrea I decided to make a new outfit for Carleigh.
So I did some sketching (not gonna lie, they look bad) I can not draw, but the idea was in my head. I wanted a three quarter sleeve tunic. I love the look of shirring so I wanted that on the sleeve. I also die for a good ruffle. I thought about putting a ruffle around the neck like a clown outfit. Sounds hideous but I thought I could make it work, channeling my inner Tim Gunn.
I started with some Riley Blake chevron and another Riley Blake print that I have had for ages and just horded for the right outfit.

I drafted a template for the bodice. This is the same 4T template I used for their Easter dresses I just extended it out in an A-line to make it a tunic. I cut one of main fabric (on fold for the front) and two of main fabric for the back. I also cut lining pieces out but only for the sake of the collar so the lining was very short, only came down about 3 inches from the arm. I also cut a strip of stabilizer for the button closure in the back.


I surged the front of the bodice to the back at the shoulder seams. Then added the stabilizer. I did the same for the lining. Also with the lining, I surged the bottom edge just to finish the edges.


After i stitched around the neck and down the back seam, I clipped the edges and curves and turned it right side out. The BEST tool that I have found is a chopstick!
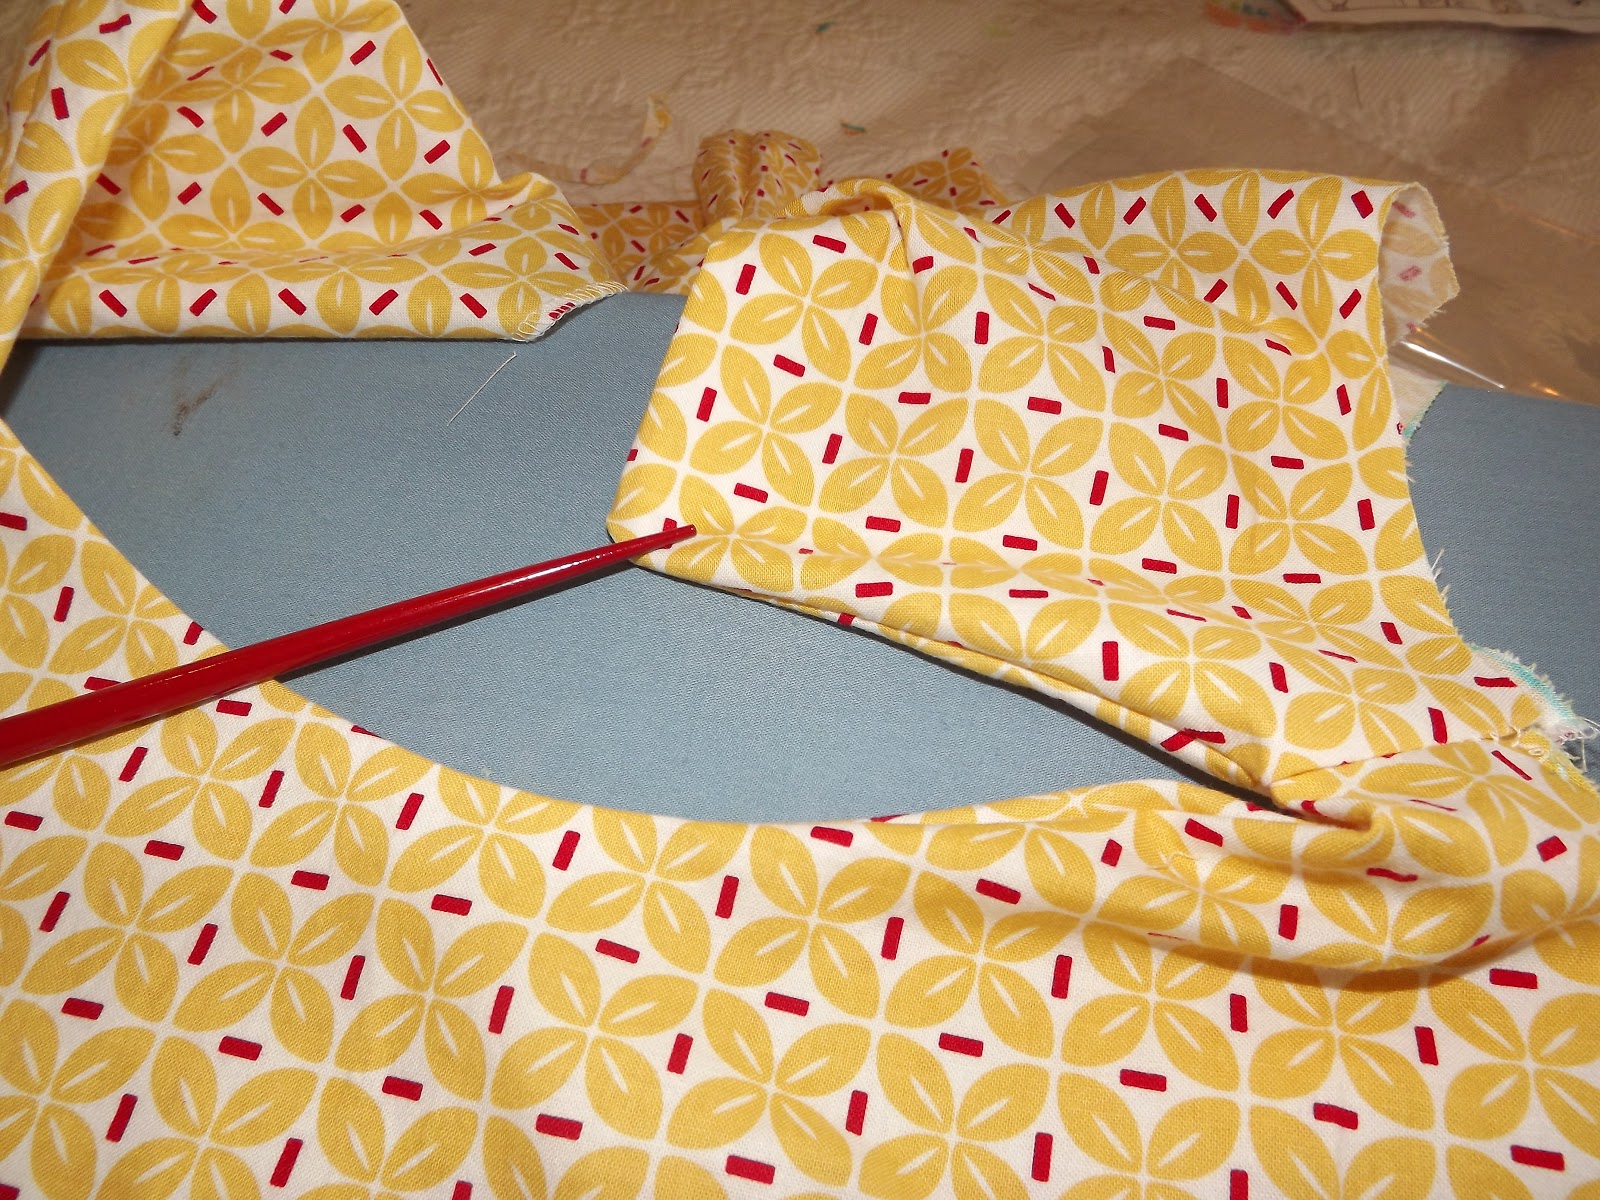


The one on the left is finished and the one on the right is not. Then it's time to attach the sleeves.
I start by pinning the center of the sleeve to the bodice. You can stitch a gathering stitch and the sleeve will fit in perfectly but I did a different sleeve "art". After pinning the center I move the sleeve around and pin on the left and right corners and then start pinning my way back to the center. There will be extra material, I fold the left side in (on top of the first center pin) then I fold the right side over the fold and pin it down. After I stitch the sleeve, I serge it to finish the raw edges and give it a little more ummp!

After that I stitched up both sides ( well surged) Did a rolled hem on the edge, I got lazy and did not feel like folding it under and changing my needle to a double needle! Attached the button to the back and my label to the front.


No comments:
Post a Comment